
After successfully installing Olarm LINK on a peripheral and configuring it via the Olarm APP, you can enable signal monitoring for your main Monitoring software in Olarm Command Centre by following these steps:
View Olarm LINK Overview and Status
1
Navigate to the Devices page and select the desired Olarm device.
2
Click on the Peripherals tab.
3
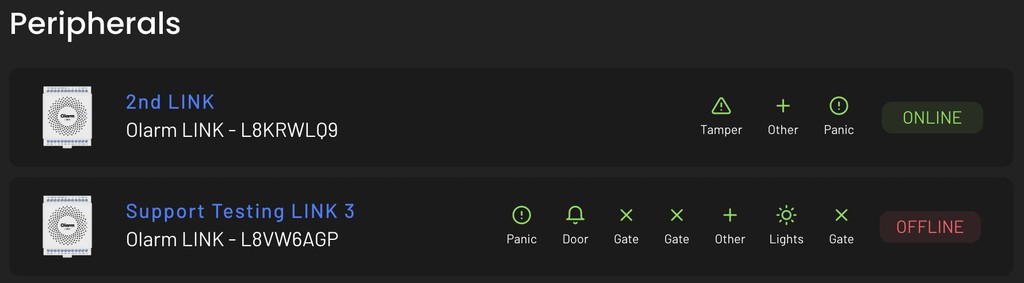
At the top of the main screen, you'll see a card for each Olarm LINK, displaying:
Olarm LINK Name and Serial Number (e.g., John's Front Garden L8H8DJ63)
Icons indicating the Peripheral Type, along with setup status:
Red = Incomplete
Green = Successfully set up
Statuses:
Online
Offline
Tamper

View Olarm LINK Settings
1
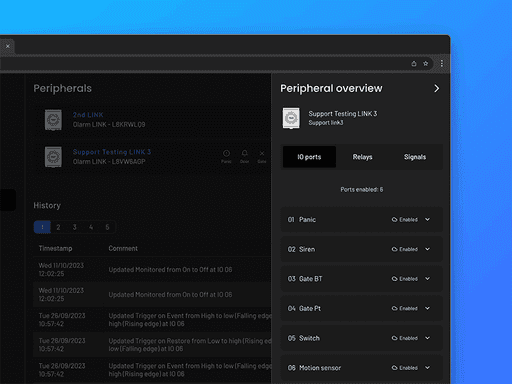
On the Device Peripherals page, click on the Olarm LINK card you want to access.
2
An overlay panel will appear above the main screen.
3
Click on the IO Ports tab.
4
00
IO Port
Enabled
Connection
Input
Make
ET Nice
Model
Drive 500
Device Type
Gate
Mode
Pulse
Is this Peripheral monitored?
Set up Custom Contact ID Reporting
To configure custom Contact ID reporting, follow these steps:
1
Click on a Peripheral card.
2
In the overlay panel, select an 'IO Port' that is enabled.
3
At the bottom of the card settings, tap on the toggle on 'Is this Peripheral monitored?'
4
Assign and Area and Zone to this peripheral (although this is not mandatory).
5
Search for a specific Contact ID description in the search field.
6
00
IO Port
Enabled
Connection
Input
Make
ET Nice
Model
Drive 500
Device Type
Gate
Mode
Pulse
Is this Peripheral monitored?
This function is only available if the state of the Peripheral can be determined. Learn more
Area
Zone
Search for an Event Type eg. "E350 Burglary"
Trigger on event
Trigger on restore
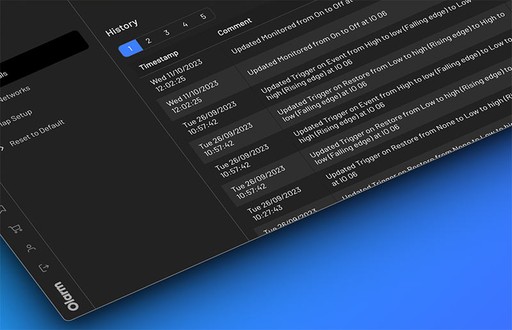
View Olarm LINK History
On the main 'Device > Peripherals' screen, you'll find an activity log below the Olarm LINK cards. This log contains records of any changes or updates, including:
Time and Date stamps
Event descriptions
Peripheral Name
User Actions (if applicable)
For further assistance, please contact support@olarm.com